Introduction
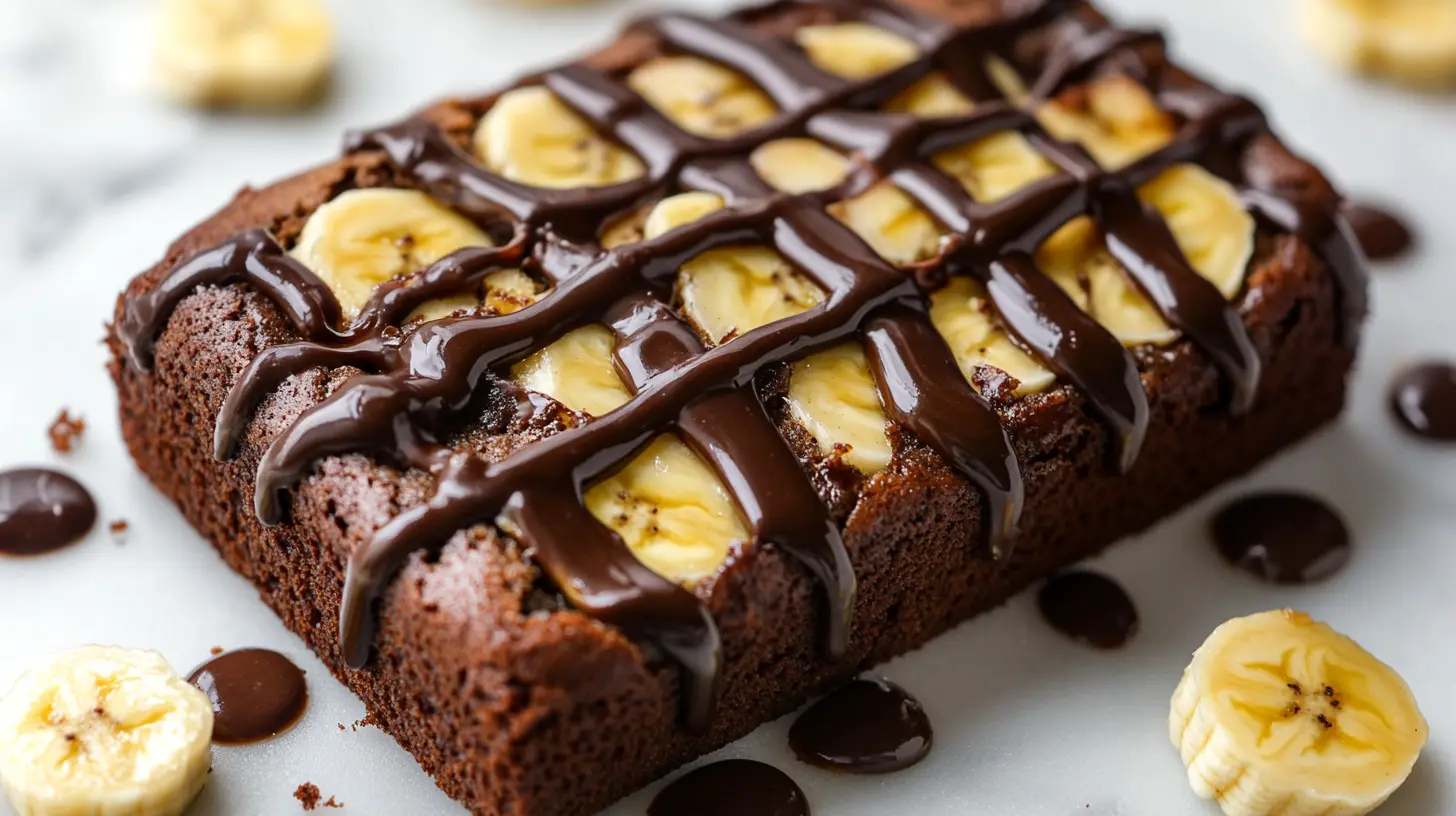
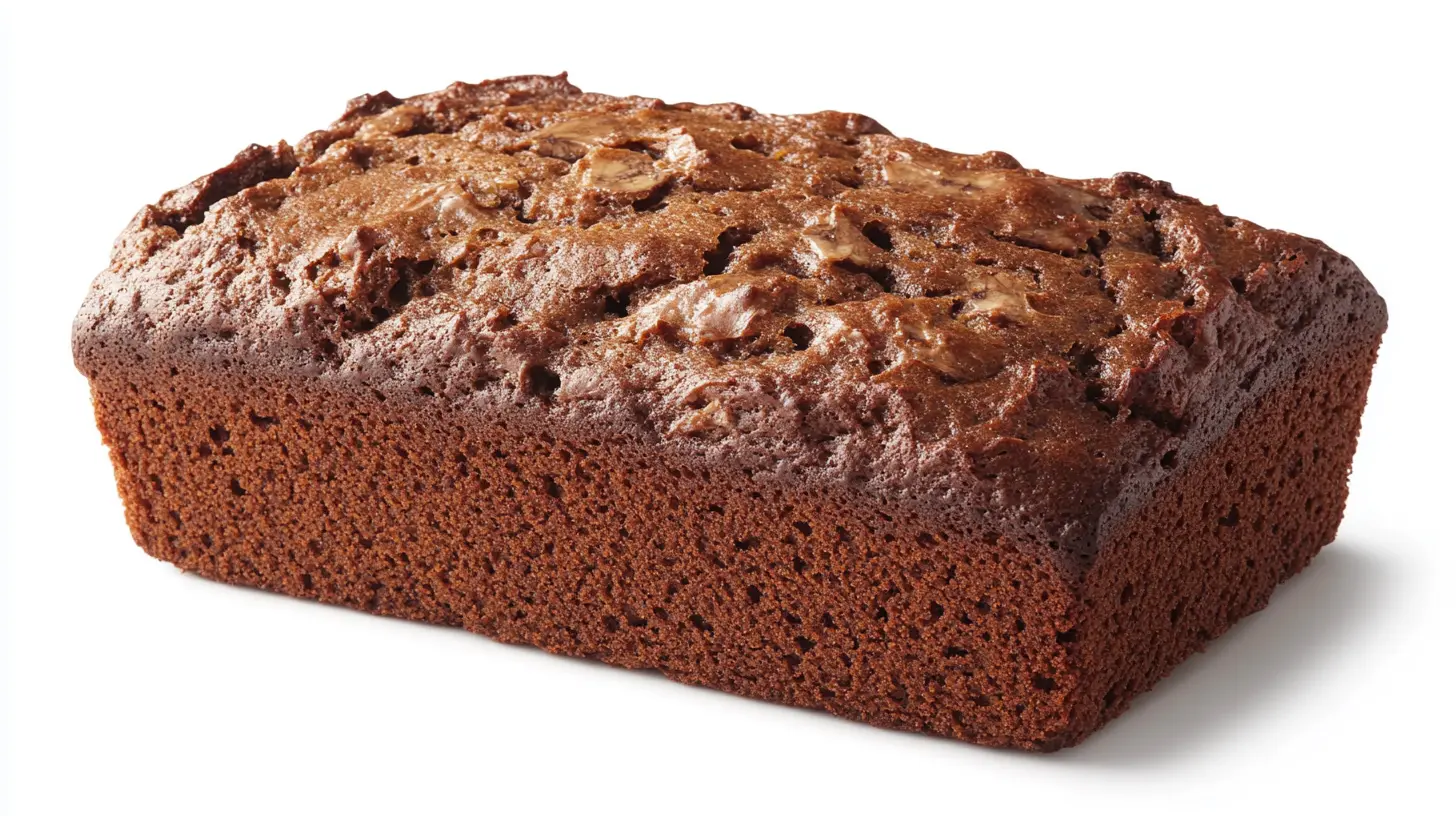
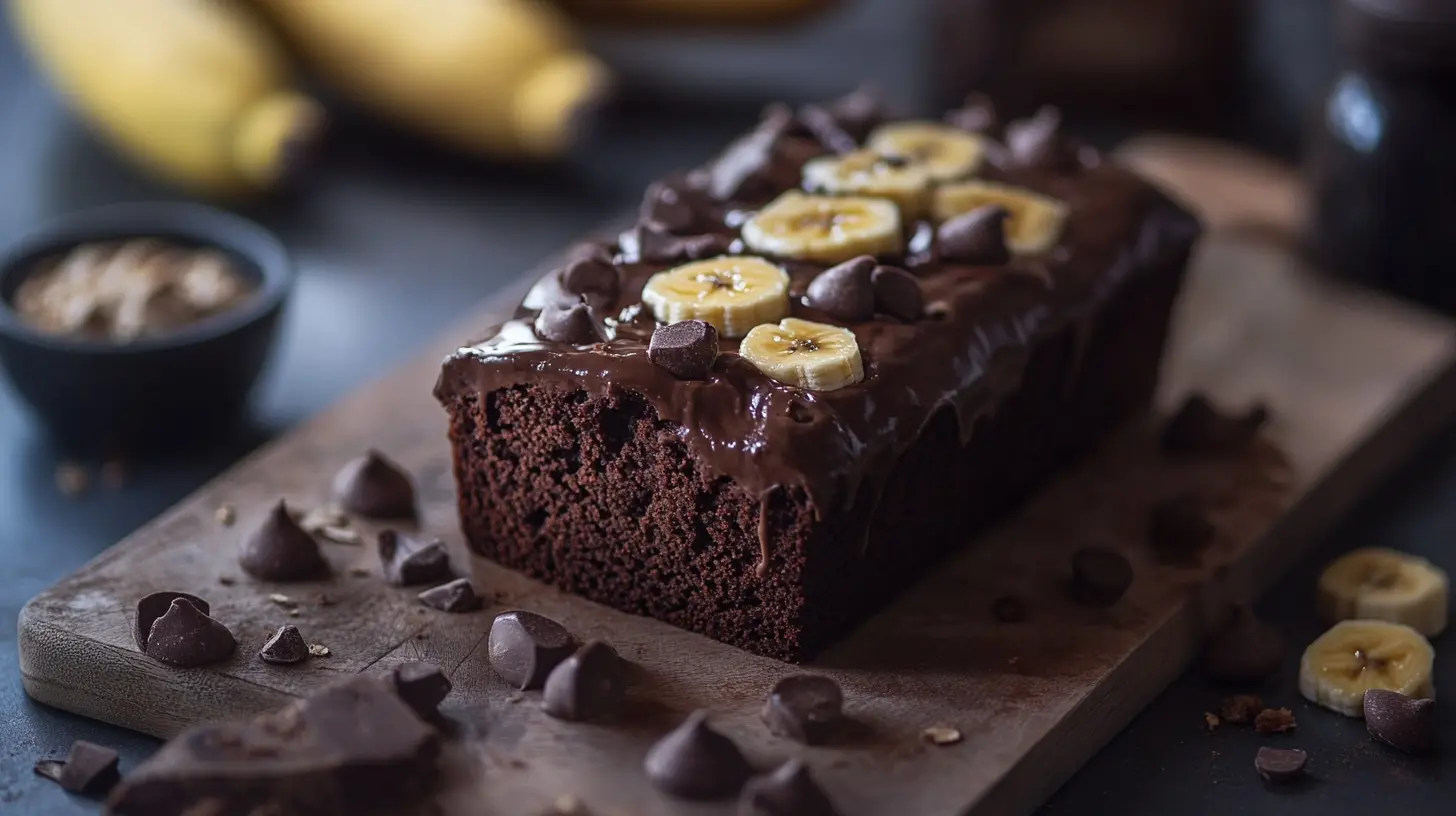
Banana bread is a classic recipe loved for its sweet flavor and moist texture. Adding Chobani yogurt elevates this timeless treat, offering a tangy twist while keeping it incredibly moist. This article will guide you step by step through crafting the perfect Chobani Banana Bread Recipe: Moist, Delicious, and Easy to Make. Whether you’re a seasoned baker or a beginner, this recipe is simple to follow, ensuring delicious results every time. Transitioning seamlessly from preparation to baking, you’ll find this process both rewarding and enjoyable.
Ingredients for Chobani Banana Bread
Having the right ingredients is crucial to achieving the perfect loaf. Here’s what you’ll need:
- 3-4 overripe bananas (the riper, the sweeter)
- 1 cup Chobani vanilla yogurt (for moisture and richness)
- 2 large eggs
- 1/2 cup unsalted butter (softened for easier mixing)
- 1 teaspoon vanilla extract
- 1 cup granulated sugar
- 1 3/4 cups all-purpose flour
- 1 teaspoon baking soda
- 1/2 teaspoon salt
- Optional: 1/2 cup chopped nuts or chocolate chips (for added texture)
Using Chobani yogurt not only enhances the flavor but also provides a healthier alternative to sour cream or heavy cream. Transitioning from ingredient preparation to baking becomes effortless with these staples.
For those who want to add texture, you can fold in some nuts or dried fruits, taking inspiration from this Vanilla Nut Granola Recipe, which offers a delightful crunch.

Equipment Needed
Before diving into the recipe, ensure you have the following equipment ready:
- A large mixing bowl and a medium-sized bowl
- A whisk or electric mixer
- Measuring cups and spoons
- A rubber spatula (ideal for scraping every last bit of batter)
- A loaf pan (preferably 9×5 inches for even baking)
- Parchment paper or non-stick spray
- Cooling rack
Having these tools on hand simplifies the process, allowing you to focus on perfecting your Chobani Banana Bread Recipe: Moist, Delicious, and Easy to Make.
Preparing the Bananas
Bananas are the star ingredient in this recipe, so preparing them correctly is vital:
- Peel the overripe bananas, ensuring no brown spots go to waste.
- Mash the bananas thoroughly using a fork or potato masher.
- Aim for a smooth consistency with a few small lumps for texture.
Transitioning from preparation to mixing is simple with this step. Mashing the bananas properly ensures they incorporate seamlessly with the other wet ingredients.
Mixing the Wet Ingredients
Once the bananas are ready, focus on the wet ingredients. Here’s how to proceed:
- In a large mixing bowl, combine the mashed bananas, Chobani yogurt, and softened butter.
- Add the eggs and vanilla extract, mixing until smooth and well-blended.
- Gradually stir in the sugar, ensuring it dissolves into the mixture.
Using Chobani yogurt here not only adds moisture but also contributes a subtle tanginess, balancing the sweetness of the bananas. Transition words guide you seamlessly to the next step: incorporating the dry ingredients.
Incorporating Chobani Yogurt
The addition of Chobani yogurt is what sets this banana bread apart. Here’s why and how to incorporate it effectively:
- Chobani yogurt acts as a natural tenderizer, giving the bread its signature moist texture.
- Measure the yogurt precisely to avoid overpowering the recipe.
- Mix the yogurt with the mashed bananas and eggs before combining with the dry ingredients.
This step ensures every slice of your Chobani Banana Bread Recipe: Moist, Delicious, and Easy to Make is irresistibly soft and flavorful.

Combining the Dry Ingredients
To create the perfect balance, the dry ingredients must be measured and mixed with care. Follow these steps:
- In a medium-sized bowl, whisk together the flour, baking soda, and salt.
- Sift the mixture to remove any lumps and ensure even distribution.
- Gradually add the dry ingredients to the wet mixture, stirring gently.
Transitioning between these stages ensures the batter is smooth and consistent, avoiding overmixing, which can make the bread dense.
Mixing Wet and Dry Ingredients
Now that both components are ready, it’s time to combine them:
- Slowly fold the dry ingredients into the wet mixture, using a rubber spatula.
- Stir just until combined overmixing can result in a tough loaf.
- If adding nuts or chocolate chips, fold them in at this stage.
This critical step in the Chobani Banana Bread Recipe: Moist, Delicious, and Easy to Make determines the final texture of your loaf. Transition carefully from mixing to preparing the loaf pan for baking.
Preparing and Baking
Follow these final steps to complete your recipe:
- Preheat your oven to 350°F (175°C).
- Line the loaf pan with parchment paper or grease it thoroughly.
- Pour the batter into the pan, spreading it evenly with a spatula.
- Bake for 55-65 minutes, checking doneness with a toothpick inserted in the center.
Allow the bread to cool for 10 minutes before transferring it to a cooling rack. This ensures it sets properly while remaining moist.
Preparing the Loaf Pan
Properly preparing your loaf pan is a crucial first step in ensuring a successful banana bread. A well-prepared pan prevents sticking, promotes even baking, and makes removing the loaf effortless. Here’s how to prepare your pan for the Chobani Banana Bread Recipe: Moist, Delicious, and Easy to Make:
- Select a standard 9×5-inch loaf pan, as it provides the best results for this recipe.
- Line the inside of the pan with parchment paper. Allow the edges of the parchment to overhang slightly; this makes lifting the baked loaf out of the pan easier.
- If parchment paper isn’t available, generously grease the pan using butter or non-stick spray. Pay extra attention to the corners and sides to ensure full coverage.
- Dust the greased pan lightly with flour, shaking out any excess. This extra step creates a barrier to prevent sticking.
Preparing your pan before mixing the batter ensures a smooth transition from the mixing process to the oven. By taking these precautions, you’ll avoid common baking issues like uneven edges or a loaf that won’t release.

Baking the Banana Bread
Baking is the heart of the process where all your efforts come together. To ensure success, follow these detailed instructions for baking your Chobani Banana Bread Recipe: Moist, Delicious, and Easy to Make:
- Preheat Your Oven: Set your oven to 350°F (175°C). Allow it to preheat fully to ensure consistent baking from the start. Skipping this step can lead to uneven cooking.
- Pour the Batter: Transfer the prepared batter into your greased or parchment-lined pan. Use a rubber spatula to spread the batter evenly, ensuring a level surface for uniform baking.
- Bake on the Center Rack: Place the loaf pan in the center of the oven. This position ensures even heat distribution and prevents one side from baking faster than the other.
- Monitor Bake Time: Bake for 55 to 65 minutes. Resist the urge to open the oven door frequently, as this can cause temperature fluctuations and lead to uneven rising.
Using Chobani yogurt in the batter helps the bread stay moist throughout baking, even if it’s in the oven a bit longer. Transitioning from this step to checking for doneness is seamless if you keep a timer handy.
Checking for Doneness
One of the most important stages in baking banana bread is knowing when it’s perfectly done. Overbaking can result in a dry loaf, while underbaking can leave the center uncooked. To avoid either, follow these tips to check for doneness in your Chobani Banana Bread Recipe: Moist, Delicious, and Easy to Make:
- Toothpick Test: Insert a toothpick or skewer into the thickest part of the loaf. If it comes out clean or with a few moist crumbs, the bread is done.
- Top Surface Check: The top of the loaf should be golden brown and feel firm to the touch. If it’s still wet or doughy, it needs more time.
- Internal Temperature: For precision, use a thermometer to check the internal temperature of the bread. A fully baked loaf will register between 200°F and 205°F.
Transitioning from baking to cooling involves patience, as cutting too early can cause the bread to crumble or become gummy.
Cooling the Banana Bread
Cooling your banana bread prop
erly is just as important as baking it. Cooling allows the loaf to set, enhancing both texture and flavor. Follow these steps to cool your Chobani Banana Bread Recipe: Moist, Delicious, and Easy to Make:
- Initial Cool in Pan: After removing the pan from the oven, let the bread cool in the pan for 10 to 15 minutes. This allows the loaf to firm up slightly and makes it easier to handle.
- Transfer to a Cooling Rack: Using the overhanging parchment paper or a knife to loosen the edges, gently lift the loaf out of the pan and place it on a wire rack.
- Allow Complete Cooling: Let the bread cool completely—about 1 to 2 hours—before slicing. Cutting too soon can result in a crumbly or overly moist texture.
Cooling fully enhances the loaf’s structure, making it easier to slice and enjoy without falling apart. Transitioning from cooling to serving is a rewarding step, as the aroma alone is hard to resist.
Optional Add-Ins for Extra Flavor
While the base recipe is delicious on its own, optional add-ins can elevate your banana bread to a gourmet level. Here are some popular variations for your Chobani Banana Bread Recipe: Moist, Delicious, and Easy to Make:
- Nuts: Walnuts, pecans, or almonds add a satisfying crunch and nutty flavor.
- Chocolate Chips: Add sweetness and decadence with semi-sweet, dark, or milk chocolate chips.
- Dried Fruits: Raisins, dried cranberries, or chopped dates provide a chewy texture and a hint of tartness.
- Spices: Cinnamon, nutmeg, or allspice enhances the warm, comforting flavor of the bread.
- Fresh Fruit: Fold in a handful of blueberries or diced apples for a fruity twist.
Incorporating add-ins is simple: gently fold them into the batter after combining the wet and dry ingredients. Transitioning from the classic recipe to a customized one opens up endless possibilities for creativity.
While this banana bread is delicious on its own, optional add-ins can elevate it to new heights. Consider incorporating nuts, chocolate chips, or even protein powder for an energy-packed twist, similar to the ideas shared in the Protein Cookie Recipe Guide.
Storing Banana Bread
Proper storage is essential for maintaining the freshness and moist texture of your banana bread. Here are some effective storage methods for your Chobani Banana Bread Recipe: Moist, Delicious, and Easy to Make:
- At Room Temperature: Wrap the loaf tightly in plastic wrap or aluminum foil and place it in an airtight container. It will stay fresh for up to 3 days.
- Refrigeration: For longer storage, refrigerate the bread. Ensure it is well-wrapped to prevent it from drying out. It can last up to a week in the fridge.
- Freezing: Slice the loaf before freezing for convenience. Wrap each slice individually in plastic wrap, then place them in a freezer-safe bag. They can be stored for up to 3 months.
Proper storage extends the life of your banana bread, making it easy to enjoy anytime. Transitioning from storage to reheating is simple, as a quick toast or microwave warm-up restores the bread’s texture.

Tips for Perfect Banana Bread
Even experienced bakers can benefit from these tried-and-true tips for the Chobani Banana Bread Recipe: Moist, Delicious, and Easy to Make:
- Use overripe bananas for maximum sweetness and natural moisture.
- Avoid overmixing the batter, as it can lead to a dense texture.
- Measure the Chobani yogurt and other ingredients accurately for consistent results.
- Preheat the oven fully before baking to ensure even cooking.
- Let the bread cool completely before slicing to avoid crumbling.
These tips ensure your banana bread turns out perfectly every time. Transitioning from good to great banana bread is all about attention to detail.
Frequently Asked Questions
Can I substitute Chobani yogurt with another brand?
Yes, but ensure it’s plain or vanilla yogurt with a creamy texture. Chobani provides the best results for moistness and flavor.
How do I make this recipe gluten-free?
Substitute all-purpose flour with a gluten-free baking mix. Ensure it includes xanthan gum for structure.
Why did my banana bread sink in the middle?
This can happen if the bread is underbaked or if the leavening agents are too old. Always test for doneness and check ingredient freshness.
Can I add protein powder to the recipe?
Yes, replace a small portion of the flour with protein powder. Adjust the liquid ingredients slightly to maintain the batter’s consistency.
Conclusion
The Chobani Banana Bread Recipe: Moist, Delicious, and Easy to Make is a perfect combination of flavor, texture, and simplicity. By following these detailed steps—from preparing the pan to storing the loaf—you can achieve bakery-quality banana bread at home. The addition of Chobani yogurt ensures a moist, tender loaf every time, while optional add-ins allow for endless customization. Transitioning from preparation to baking and serving is seamless with these easy-to-follow instructions. Whether enjoyed fresh or stored for later, this banana bread is a guaranteed crowd-pleaser. Happy baking!
For more inspiration, consider exploring recipes like the Vanilla Nut Granola Recipe or tips for enhancing texture in the Protein Cookie Recipe Guide. With these resources, your baking repertoire will continue to grow, offering endless opportunities to experiment and enjoy.
