Introduction
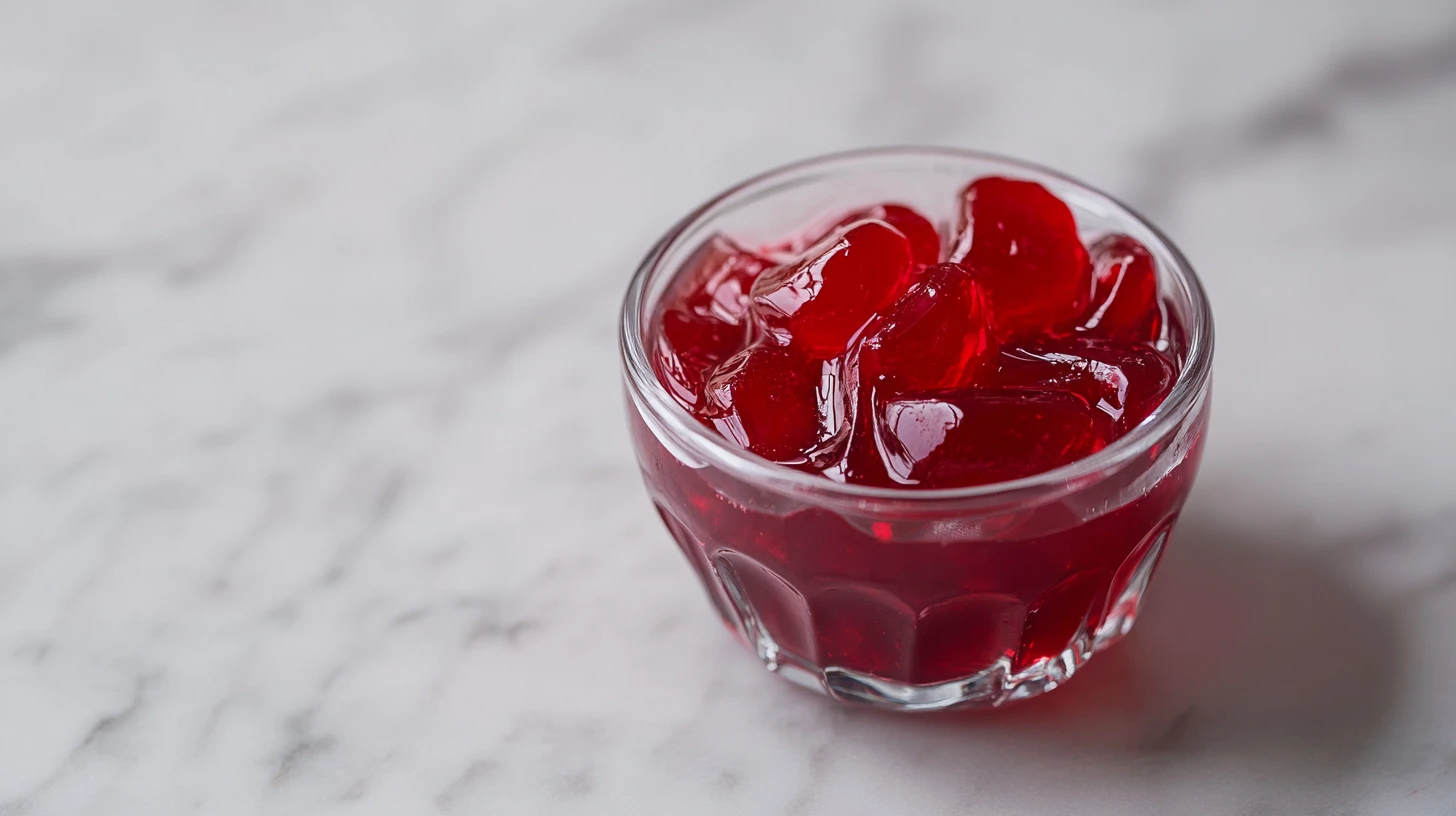
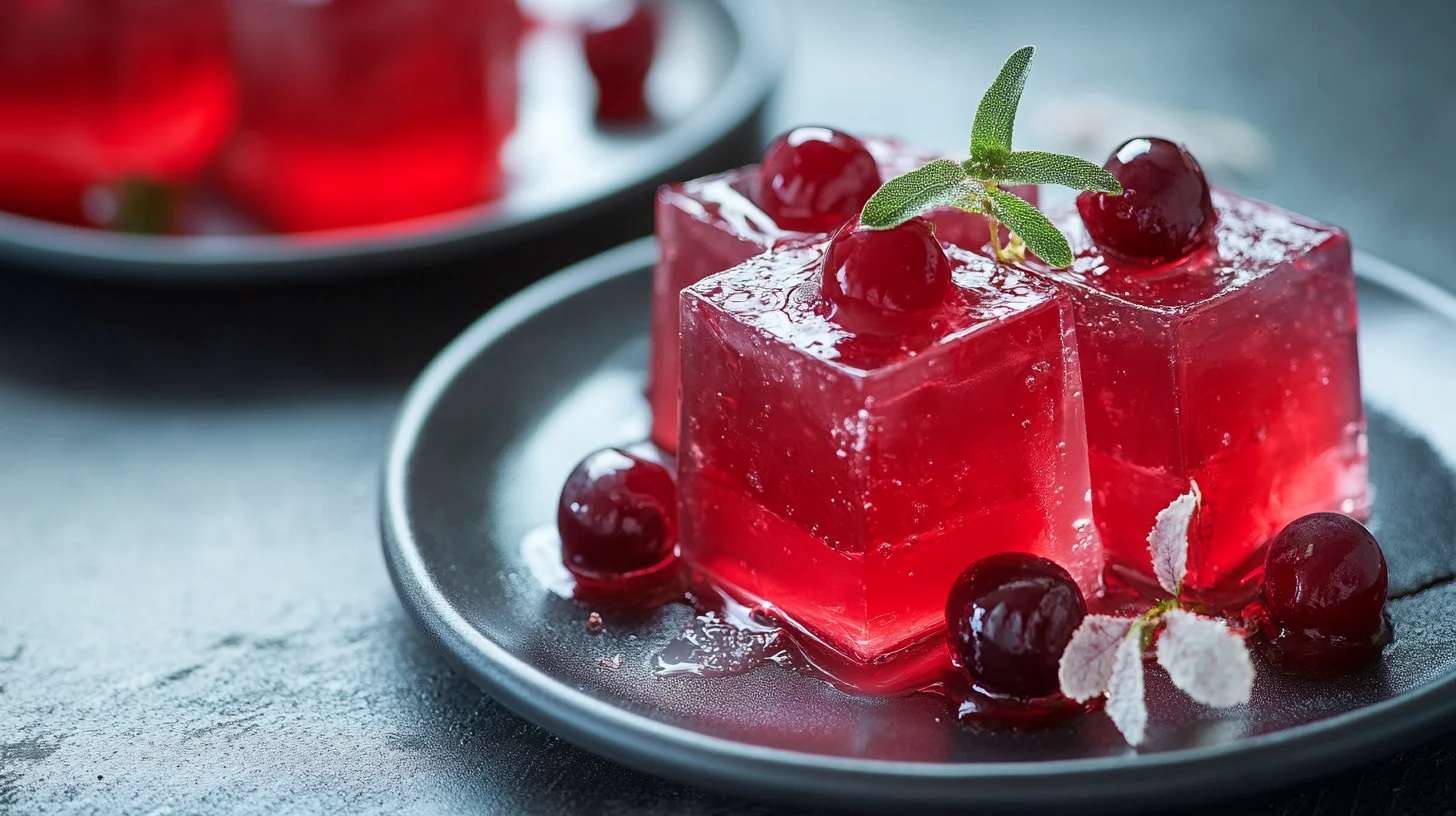
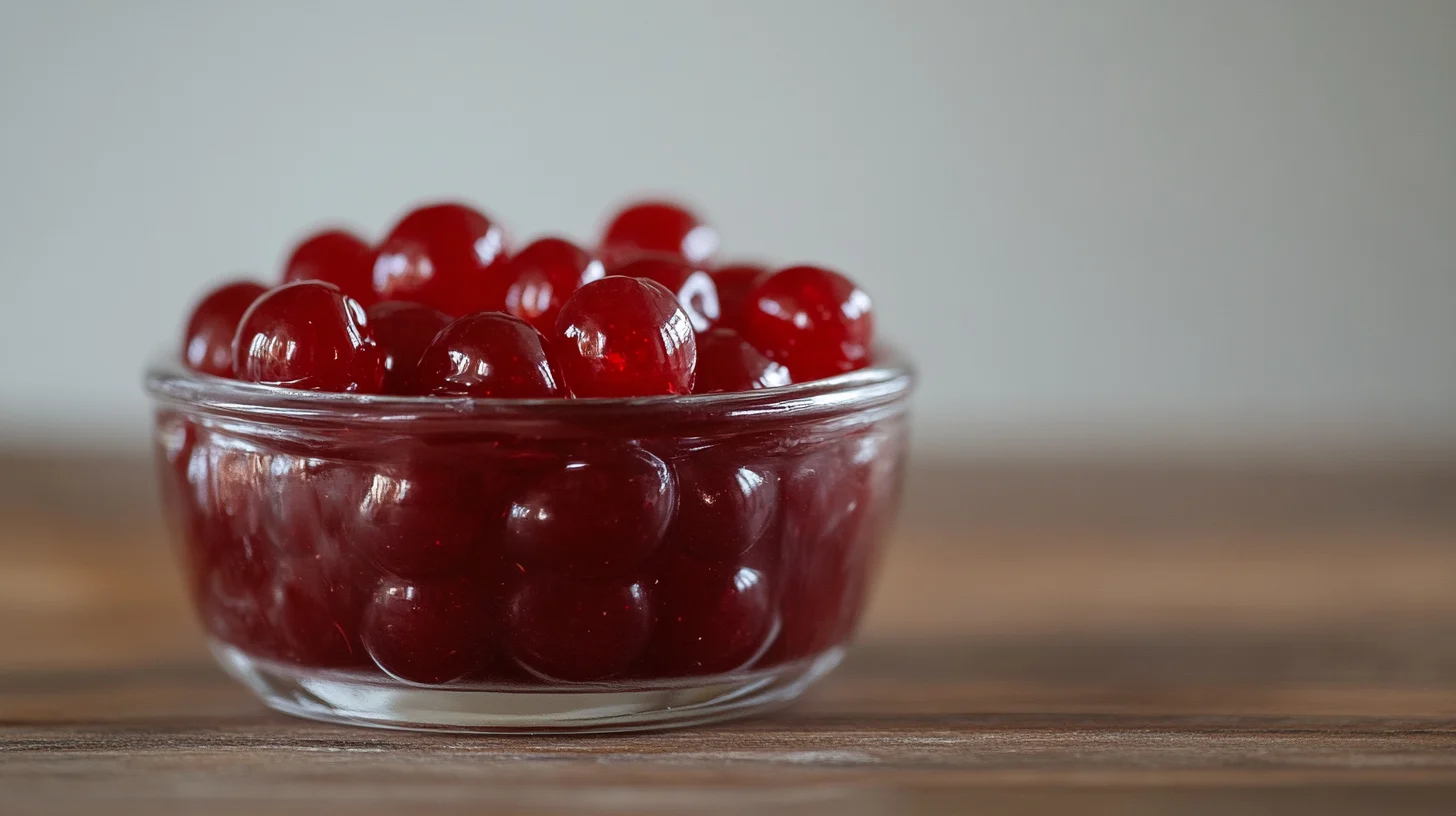
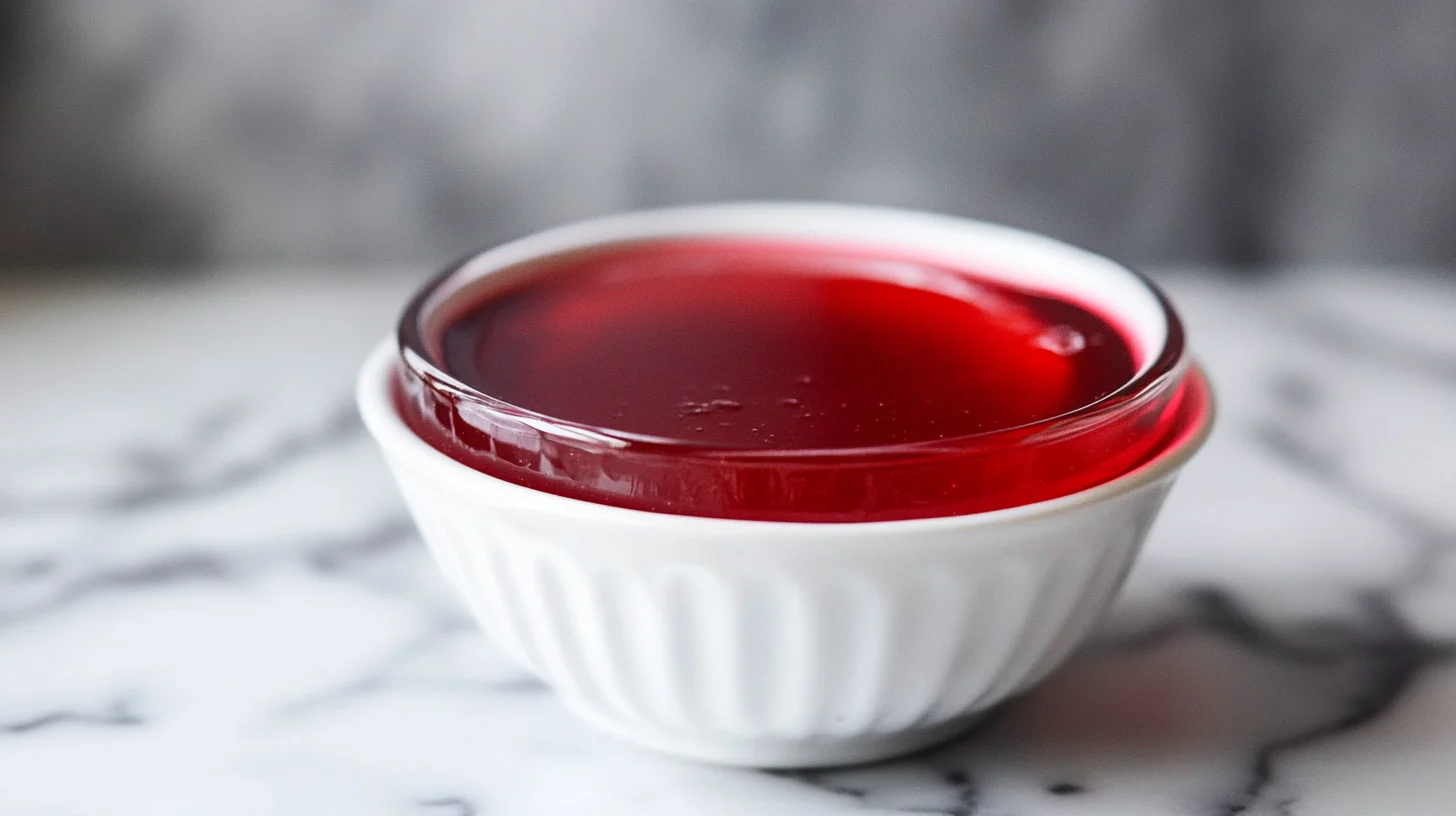
Cherry jelly is a delightful homemade treat that can elevate your breakfasts, desserts, and even savory dishes. With its rich, fruity flavor and smooth texture, it’s a favorite for many. This guide on the Easy Cherry Jelly Recipe: Sweet and Delicious Homemade Treat will walk you through every step of the process, ensuring your jelly is both delicious and perfectly set.
For additional guidance on mastering homemade condiments, explore How to Make Glycerin for Baking at Home: A Step-by-Step Guide for insights into crafting versatile ingredients at home.
Ingredients Needed for Cherry Jelly
The key to any successful jelly recipe is using the right ingredients in the correct proportions. This ensures the perfect balance of flavor, sweetness, and texture.
Core Ingredients
- Fresh Cherries: About 4 cups, pitted and stemmed.
- Sugar: 2–3 cups, depending on your desired sweetness level.
- Lemon Juice: 2 tablespoons, to enhance the cherry flavor and balance sweetness.
- Pectin: 1 packet, to ensure the jelly sets properly.
- Water: 1 cup, to help extract juice from the cherries during cooking.
Optional Additions
- Vanilla Extract: A teaspoon for added depth of flavor.
- Cinnamon Stick: For a warm, spiced undertone.
Gathering these ingredients beforehand simplifies the process of making your Easy Cherry Jelly Recipe: Sweet and Delicious Homemade Treat.

Selecting Fresh Cherries for the Best Flavor
The flavor of your cherry jelly largely depends on the quality of cherries you use. Taking the time to choose the best cherries ensures a richer and more vibrant jelly.
Tips for Selecting Cherries
- Look for Ripeness: Choose cherries that are plump, firm, and deep red in color for maximum flavor.
- Avoid Bruised Cherries: Overripe or damaged cherries may affect the final taste and texture of the jelly.
- Taste Before Buying: If possible, sample a cherry to ensure it’s sweet and flavorful.
Types of Cherries to Use
- Sweet Cherries: Such as Bing or Rainier, for a naturally sweet jelly.
- Tart Cherries: Like Montmorency, for a tangier flavor profile.
Selecting the right cherries is a vital step in creating an Easy Cherry Jelly Recipe: Sweet and Delicious Homemade Treat that stands out.
Preparing the Cherries for Jelly Making
Properly preparing your cherries not only improves the jelly’s texture but also enhances the flavor extraction process.
Steps to Prepare Cherries
- Wash Thoroughly: Rinse the cherries under cold water to remove any dirt or debris.
- Pit and Stem: Use a cherry pitter or a small knife to remove the pits and stems.
- Crush the Cherries: Gently mash the cherries with a potato masher to release their juice.
Extracting the Juice
- Combine the mashed cherries with 1 cup of water in a large pot.
- Simmer over medium heat for 10–15 minutes, stirring occasionally.
- Strain the mixture through a fine mesh sieve or cheesecloth to separate the juice from the pulp.
Preparing the cherries properly ensures your Easy Cherry Jelly Recipe: Sweet and Delicious Homemade Treat has a smooth and consistent texture.

The Role of Sugar in Sweetness and Preservation
Sugar plays a dual role in jelly making: it sweetens the jelly and acts as a natural preservative. However, getting the balance right is essential.
Why Sugar is Important
- Sweetens the Jelly: Enhances the natural flavor of the cherries.
- Preserves the Jelly: Inhibits the growth of bacteria and mold, increasing shelf life.
- Aids in Gelling: Works with pectin to create the jelly’s firm texture.
Adjusting Sugar Levels
- For a sweeter jelly, use up to 3 cups of sugar.
- For a tarter version, reduce the sugar to 2 cups.
- If using tart cherries, slightly increase the sugar to balance the flavor.
By understanding the role of sugar, you can customize your Easy Cherry Jelly Recipe: Sweet and Delicious Homemade Treat to suit your taste preferences.
Adding Pectin for Proper Gelling
Pectin is the key ingredient that gives jelly its characteristic gel-like texture. Without it, your jelly may remain runny or too soft.
How Pectin Works
- Activates with Heat: Pectin forms a gel when heated with sugar and acid, such as lemon juice.
- Creates Stability: Ensures the jelly holds its shape when spread on bread or spooned onto desserts.
Using Pectin in Cherry Jelly
- Add the pectin to the cherry juice while it’s still cold to ensure even distribution.
- Stir constantly as you bring the mixture to a boil, helping the pectin dissolve fully.
- Follow the pectin package instructions for the correct sugar-to-pectin ratio.
Alternative Gelling Agents
- Natural Pectin: Use green apples or citrus peels for a natural source of pectin.
- Gelatin: An option for those who prefer a softer set, though it’s not traditional for jelly.
Adding pectin properly ensures your Easy Cherry Jelly Recipe: Sweet and Delicious Homemade Treat has the perfect consistency every time.
Cooking the Jelly to Reach the Setting Point
Cooking the jelly correctly is crucial for achieving the right consistency. Skipping steps or rushing the process can lead to a runny or overly firm jelly.
Steps to Cook the Jelly
- Combine Ingredients: In a large pot, mix the strained cherry juice, sugar, and pectin. Stir until the sugar dissolves.
- Heat Gradually: Bring the mixture to a boil over medium heat, stirring constantly to prevent burning.
- Boil Rapidly: Once boiling, maintain a rolling boil for 1–2 minutes. This helps activate the pectin for proper gelling.
Tips for Success
- Use a candy thermometer to ensure the mixture reaches 220°F (104°C), the ideal setting point for jelly.
- Avoid overcooking, as it can break down the pectin and affect the jelly’s texture.
Cooking the jelly properly ensures your Easy Cherry Jelly Recipe: Sweet and Delicious Homemade Treat is perfectly set and full of flavor.

Testing for Gel Consistency
Testing the jelly for proper gel consistency is an essential step that ensures your efforts result in a smooth, spreadable texture.
Simple Gel Tests
- Spoon Test: Dip a cold spoon into the jelly and let it drip. If it forms thick droplets and sheets off the spoon, it’s ready.
- Plate Test: Place a small amount of jelly on a chilled plate. If it wrinkles when you push it with your finger, the gel point is achieved.
Adjustments if Needed
- If the jelly is too thin, simmer for another 1–2 minutes and test again.
- If it’s too thick, add a small amount of water or cherry juice and reheat gently.
By testing the gel consistency during cooking, you can ensure your Easy Cherry Jelly Recipe: Sweet and Delicious Homemade Treat has the perfect texture.
Sterilizing Jars to Ensure Food Safety
Sterilizing jars is a critical step for food safety and preserving your cherry jelly. Proper sterilization prevents contamination and ensures your jelly stays fresh.
How to Sterilize Jars
- Wash Thoroughly: Clean jars and lids with hot, soapy water and rinse well.
- Boil the Jars: Place jars in a large pot of boiling water and simmer for 10 minutes.
- Keep Warm: Leave jars in the hot water until you’re ready to fill them to avoid temperature shock.
Tips for Sterilizing Lids
- Avoid boiling the lids; instead, soak them in hot (not boiling) water to protect the sealing compound.
- Use a clean towel to dry lids just before use.
Sterilizing jars properly is essential for preserving the quality of your Easy Cherry Jelly Recipe: Sweet and Delicious Homemade Treat.
Filling and Sealing Jars Correctly
Filling and sealing the jars correctly is vital to preserve the jelly and lock in its freshness. With a little care, you can ensure your jelly is stored safely.
Steps for Filling Jars
- Fill While Hot: Ladle the hot jelly into warm, sterilized jars, leaving ¼ inch of headspace.
- Remove Air Bubbles: Use a non-metallic spatula to release any trapped air.
- Wipe the Rims: Clean the jar rims with a damp cloth to ensure a proper seal.
Sealing the Jars
- Apply Lids and Rings: Place the lids on the jars and screw on the rings until fingertip-tight.
- Process in a Water Bath: Submerge the jars in boiling water for 5–10 minutes to create a vacuum seal.
Filling and sealing jars correctly guarantees that your Easy Cherry Jelly Recipe: Sweet and Delicious Homemade Treat stays fresh and ready to enjoy.
Allowing Jelly to Cool and Set
After sealing the jars, allowing the jelly to cool and set is the final step in the process. This ensures the jelly achieves its intended consistency.
Cooling Process
- Remove Jars Carefully: Use a jar lifter to take the jars out of the water bath. Place them on a clean, dry towel.
- Avoid Disturbing: Let the jars cool undisturbed for 12–24 hours to ensure the jelly sets properly.
Checking the Seal
- Press the center of each lid. If it doesn’t pop, the jar is sealed correctly.
- Any unsealed jars should be refrigerated and consumed within a few weeks.
Cooling and setting the jelly completes your Easy Cherry Jelly Recipe: Sweet and Delicious Homemade Treat, ensuring it’s perfectly preserved and ready to enjoy.
Storing Homemade Cherry Jelly
Proper storage is crucial for preserving the flavor, texture, and safety of your cherry jelly. With the right techniques, your jelly can last for months.
Short-Term Storage
- Refrigerator: Store jars that have been opened or are unsealed in the refrigerator for up to 3 weeks.
- Tightly Sealed Lids: Always check that the lids are sealed properly before refrigeration.
Long-Term Storage
- Cool, Dark Place: Sealed jars can be stored in a pantry or cupboard for up to 12 months.
- Avoid Temperature Fluctuations: Sudden changes can compromise the seal and reduce shelf life.
Tips for Optimal Storage
- Label each jar with the date of preparation.
- Inspect jars for broken seals or spoilage before use.
Storing your jelly correctly ensures the Easy Cherry Jelly Recipe: Sweet and Delicious Homemade Treat stays fresh and delicious.

Variations with Added Spices or Extracts
Adding spices or extracts can take your cherry jelly to the next level by introducing unique flavor profiles.
Popular Additions
- Cinnamon: Add a cinnamon stick during cooking for a warm, spiced flavor.
- Vanilla Extract: Stir in a teaspoon of vanilla extract for a rich, sweet undertone.
- Almond Extract: Pair cherry with almond for a classic flavor combination.
- Citrus Zest: Incorporate orange or lemon zest for a bright, tangy twist.
Tips for Flavor Variations
- Add spices or extracts toward the end of the cooking process to preserve their intensity.
- Experiment with small batches to find your favorite flavor combinations.
These variations make the Easy Cherry Jelly Recipe: Sweet and Delicious Homemade Treat customizable to suit your preferences.
Troubleshooting Common Cherry Jelly Problems
Even with a straightforward recipe, issues can arise during jelly-making. Understanding these common problems ensures your jelly turns out perfectly.
Common Problems
- Runny Jelly: Caused by insufficient pectin or not boiling to the setting point.
- Overly Firm Jelly: Results from too much pectin or overcooking.
- Cloudy Appearance: Often due to improper straining or stirring too vigorously.
Solutions
- For runny jelly, reheat it with additional pectin and boil to 220°F (104°C).
- If the jelly is too firm, mix in a small amount of water or juice and reheat gently.
- Strain the juice thoroughly through a cheesecloth to avoid cloudiness.
By addressing these issues, you can perfect your Easy Cherry Jelly Recipe: Sweet and Delicious Homemade Treat every time.
Serving Suggestions and Pairings for Cherry Jelly
Cherry jelly isn’t just for toast—it can enhance a variety of dishes and snacks.
Sweet Pairings
- Breakfast Favorites: Spread on pancakes, waffles, or croissants.
- Desserts: Use as a filling for cakes, pastries, or thumbprint cookies.
- Ice Cream Topping: Drizzle over vanilla or chocolate ice cream for a fruity contrast.
Savory Pairings
- Cheese Board: Pair with brie, goat cheese, or sharp cheddar for a sweet-savory contrast.
- Meat Glazes: Brush onto roasted pork or chicken for added flavor.
- Sandwiches: Add to turkey or ham sandwiches for a touch of sweetness.
These serving ideas highlight the versatility of the Easy Cherry Jelly Recipe: Sweet and Delicious Homemade Treat.
Frequently Asked Questions
1. How long does homemade cherry jelly last?
Properly sealed jars can last up to 12 months when stored in a cool, dark place. Opened jars should be refrigerated and consumed within 3 weeks.
2. Can I use frozen cherries instead of fresh?
Yes, frozen cherries work well. Thaw them first and use the juice for the recipe.
3. What if my jelly doesn’t set?
Reheat the jelly, add more pectin, and boil it again until it reaches the proper setting point.
4. Can I reduce the sugar in the recipe?
Yes, but you’ll need low-sugar pectin to ensure the jelly sets properly.
5. Is it necessary to use a water bath for sealing jars?
Yes, a water bath ensures the jars are properly sealed and prevents spoilage.
Conclusion
Making cherry jelly at home is a rewarding process that results in a sweet, versatile treat for any occasion. By following the Easy Cherry Jelly Recipe: Sweet and Delicious Homemade Treat and incorporating tips for storage, variations, and troubleshooting, you can create a jelly that is not only delicious but also perfect for gifting or enjoying with family.
For further inspiration on preserving and enhancing flavors, explore Glycerine in Baking: How It Enhances Your Cakes and other related articles.
Start experimenting with flavors and serving ideas to make this recipe your own. Whether you’re spreading it on toast or glazing a roast, this cherry jelly is sure to be a hit!

2 thoughts on “Easy Cherry Jelly Recipe: Sweet and Delicious Homemade Treat”