Introduction :
Coloring cookies is not just about adding vibrant hues; it’s about creating visually appealing and delicious treats that wow your guests. Whether you’re a beginner or an experienced baker, The Ultimate Guide to Coloring Cookies Like a Pro will teach you everything you need to know about achieving the perfect colors for your cookies. From understanding food coloring types to mastering mixing techniques, this guide ensures your cookies are as beautiful as they are tasty.
Understanding Food Coloring Basics
To color cookies effectively, it’s essential to understand the different types of food coloring available and how they work. The three main types of food coloring are liquid, gel, and powdered, each with unique properties.
Why Food Coloring Matters
- Enhances the cookies’ appearance to match themes or occasions.
- Allows for creativity in design, from bold colors to subtle shades.
- Provides endless customization options for professional and home bakers alike.
When working with food coloring, always opt for food-safe, high-quality products. This ensures vibrant results without compromising flavor. By mastering the basics, you’re one step closer to perfecting The Ultimate Guide to Coloring Cookies Like a Pro.

Liquid vs. Gel Food Coloring
Choosing between liquid and gel food coloring depends on the desired outcome and the type of cookie dough you are using. Each option has its advantages and challenges, making it important to select the right one for your needs.
Liquid Food Coloring
- Pros: Affordable and widely available, making it ideal for beginners.
- Cons: Requires more quantity to achieve vibrant colors, which can alter the dough’s consistency.
Gel Food Coloring
- Pros: Highly concentrated, requiring less product to achieve rich colors. Best for maintaining dough consistency.
- Cons: Slightly more expensive but worth the investment for professional-quality results.
When to Use Each
- Use liquid coloring for softer doughs or when only subtle hues are needed.
- Opt for gel coloring for bold colors or intricate cookie designs that require precision.
Understanding the differences between liquid and gel coloring will help you navigate The Ultimate Guide to Coloring Cookies Like a Pro more effectively.
Natural Dyes for Health-Conscious Bakers
For those looking to avoid artificial additives, natural dyes are a fantastic alternative. Not only are they healthier, but they also add unique flavors and hues to your cookies.
Popular Natural Coloring Options
- Beetroot Powder: Adds a vibrant red or pink hue, perfect for Valentine’s Day cookies.
- Turmeric: Creates a bright yellow color with earthy undertones.
- Spirulina: A plant-based option for stunning green shades.
- Cocoa Powder: Naturally enhances brown tones, ideal for chocolate cookies.
- Butterfly Pea Flower Tea: Produces a blue hue that can shift to purple with added acidity.
Benefits of Natural Dyes
- Free from artificial chemicals, making them suitable for health-conscious bakers.
- Adds subtle, complementary flavors to the cookies.
- Eco-friendly and often allergen-free.
By incorporating natural dyes, you can achieve stunning results while adhering to The Ultimate Guide to Coloring Cookies Like a Pro.
Natural food coloring not only enhances aesthetics but also adds unique flavors. Try using beetroot powder in recipes like the Easy Orange Fish Cookies for a fruity twist.

Choosing the Right Cookie Dough Recipe
The type of cookie dough you use can significantly impact how well the colors blend and hold. Some recipes work better with food coloring than others, making the dough selection process critical.
Ideal Dough Types for Coloring
- Sugar Cookie Dough: A versatile base that holds vibrant colors well and is perfect for intricate designs.
- Shortbread Dough: Its buttery texture provides a smooth canvas for subtle colors.
- Royal Icing: While not a dough, royal icing is essential for adding colorful accents to finished cookies.
Tips for Success
- Avoid doughs with dark ingredients like molasses or cocoa unless aiming for specific tones.
- Keep the dough’s moisture levels balanced to prevent cracking after adding coloring.
- Always chill the dough before rolling and cutting to maintain sharp, clean edges.
By selecting the right dough, you’ll set the stage for a flawless execution of The Ultimate Guide to Coloring Cookies Like a Pro.
Mixing Colors Without Overworking the Dough
Achieving vibrant and evenly colored dough is an art, and overworking the dough can lead to tough cookies. By following these tips, you can blend colors seamlessly without compromising texture.
Steps for Proper Mixing
- Divide the Dough: If using multiple colors, separate the dough into portions before adding coloring.
- Add Coloring Gradually: Start with a small amount and build up to the desired intensity.
- Use a Gentle Kneading Motion: Incorporate the color with your hands or a dough scraper to avoid overmixing.
- Test the Color: Bake a small piece of dough to see how the color looks after baking, as it may darken in the oven.
Avoiding Common Mistakes
- Don’t use excessive food coloring, as this can affect the dough’s flavor.
- Avoid overkneading, which can activate the gluten and result in tough cookies.
- Always work quickly to prevent the dough from becoming too soft.
By mastering these techniques, you’ll ensure that your cookies turn out perfectly every time, fulfilling the promise of The Ultimate Guide to Coloring Cookies Like a Pro.
Controlling Cookie Consistency
The consistency of your cookie dough is crucial when coloring it. Dough that is too soft or too dry can affect the even distribution of color and the final texture of the cookies.
Key Tips for Perfect Dough Consistency
- Balance Ingredients: Ensure the ratio of flour to wet ingredients is correct. Too much flour can make the dough crumbly, while excess liquid can make it sticky.
- Chill Before Coloring: Cold dough is easier to work with and less prone to overworking during the coloring process.
- Adjust for Liquid Coloring: If using liquid food coloring, reduce other liquid ingredients slightly to maintain consistency.
Why Consistency Matters
- Prevents cracking or spreading during baking.
- Helps colors mix evenly without creating streaks.
- Ensures a smooth surface for decorating.
By prioritizing dough consistency, you’ll set a strong foundation for achieving professional results with The Ultimate Guide to Coloring Cookies Like a Pro.
Techniques for Vibrant Colors
Achieving vibrant, eye-catching colors is one of the main goals when coloring cookies. However, it requires a careful approach to avoid dull or uneven hues.
Proven Techniques
- Use Gel or Powder Food Coloring: These are more concentrated than liquid options and produce bold colors with less product.
- Layer Gradually: Add small amounts of coloring at a time and mix thoroughly before adding more.
- Incorporate White Base: For light or pastel shades, start by adding white food coloring to the dough as a base.
Common Mistakes to Avoid
- Adding too much coloring at once, which can alter the dough’s flavor or texture.
- Overmixing, which can result in a tough dough.
- Using expired or low-quality food coloring that doesn’t blend well.
By using these techniques, you can achieve the vibrant hues needed to perfect The Ultimate Guide to Coloring Cookies Like a Pro.

Best Timing for Adding Coloring
The timing of when you add food coloring can significantly impact the final appearance and quality of your cookies. Adding coloring at the right stage ensures even distribution and prevents overworking the dough.
When to Add Coloring
- During Wet Mixing: Adding coloring while mixing butter, sugar, and eggs ensures the most even color distribution.
- Before Incorporating Dry Ingredients: This minimizes the need for excessive kneading, preserving the dough’s texture.
- For Multiple Colors: Divide the dough into portions and color each separately to achieve distinct shades without contamination.
Why Timing Matters
- Prevents streaking or uneven coloring.
- Reduces the risk of overmixing, which can toughen the cookies.
- Helps maintain consistent dough moisture levels.
Mastering the timing of adding coloring is an essential step in The Ultimate Guide to Coloring Cookies Like a Pro.
Creating Ombré or Marble Effects
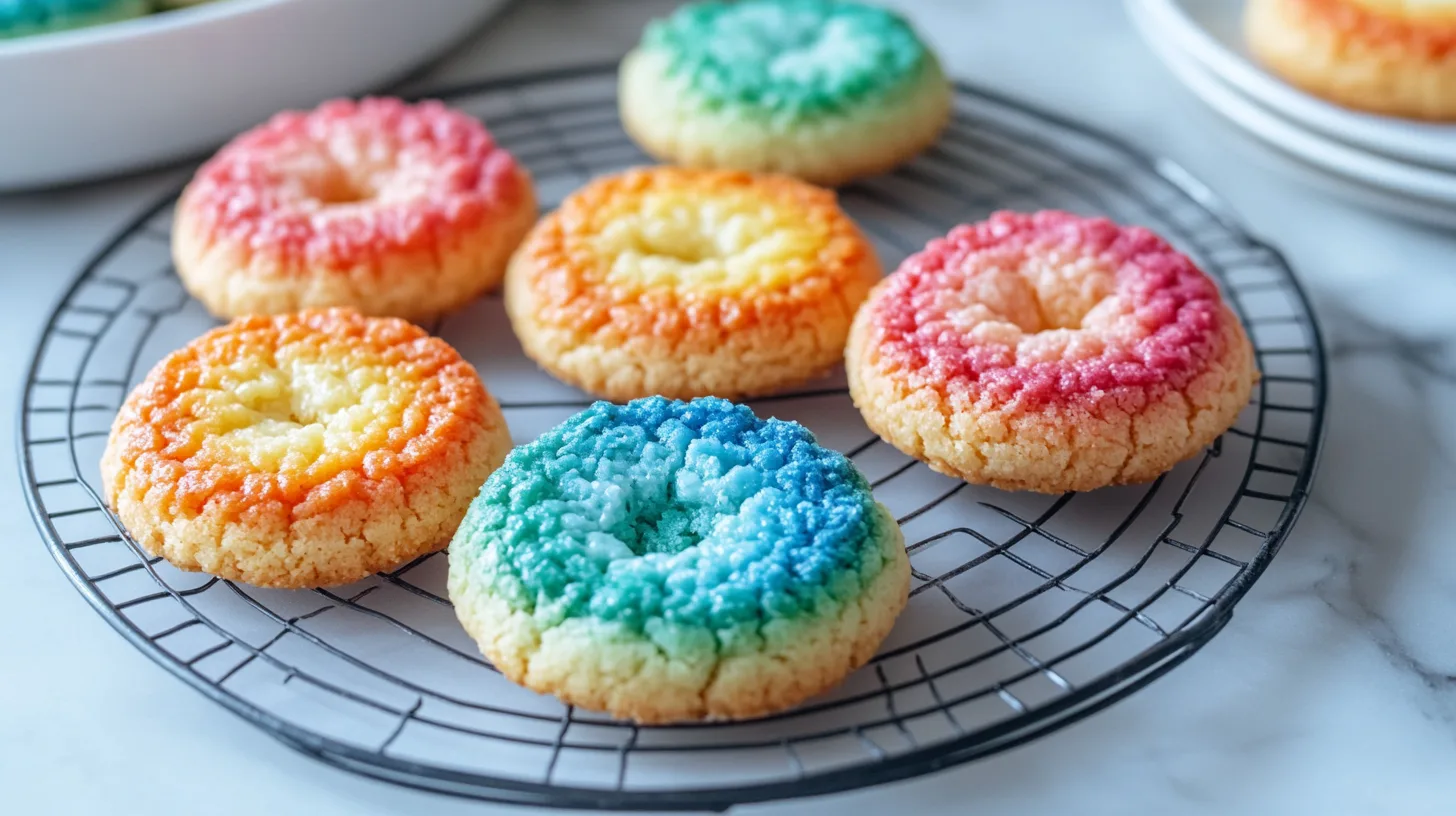
For bakers looking to take their cookies to the next level, ombré and marble effects are stunning techniques that showcase creativity. These designs add depth and sophistication to your cookies.
How to Create Ombré Effects
- Divide Dough into Gradients: Separate dough into 3–5 portions and gradually increase the intensity of the color in each portion.
- Layer and Roll: Stack the dough portions from lightest to darkest, then roll gently to blend the colors into a gradient.
- Cut Shapes: Use cookie cutters to create uniform designs that showcase the ombré effect.
How to Achieve Marble Effects
- Add Small Color Dabs: Place small amounts of food coloring onto the dough and fold gently.
- Avoid Overmixing: Stop mixing as soon as a swirled pattern forms to retain the marble effect.
Why These Techniques Stand Out
- They create visually striking cookies with minimal effort.
- Perfect for themed events or showcasing artistic skills.
Incorporating ombré and marble effects will elevate your creations, making them a highlight of The Ultimate Guide to Coloring Cookies Like a Pro.
Baking Temperature and Color Retention
Even the most vibrant cookie dough can lose its brilliance if not baked correctly. Maintaining the proper temperature and baking techniques is key to preserving your colors.
Tips for Baking at the Right Temperature
- Stick to Moderate Heat: Bake cookies at 325°F–350°F to prevent browning, which can dull colors.
- Use Parchment Paper: This prevents overbaking on the bottom, which often leads to discoloration.
- Monitor Closely: Check cookies a few minutes before the recommended time to ensure they retain their intended shade.
Protecting Vibrant Colors
- Avoid Overbaking: Pull cookies out of the oven as soon as the edges are set to maintain color vibrancy.
- Consider a Matte Finish: For glossy cookies, cover them with a clear glaze after baking instead of increasing oven time.
Why Baking Matters
- Ensures your hard work with food coloring isn’t wasted.
- Highlights the brilliance of the designs created through The Ultimate Guide to Coloring Cookies Like a Pro.

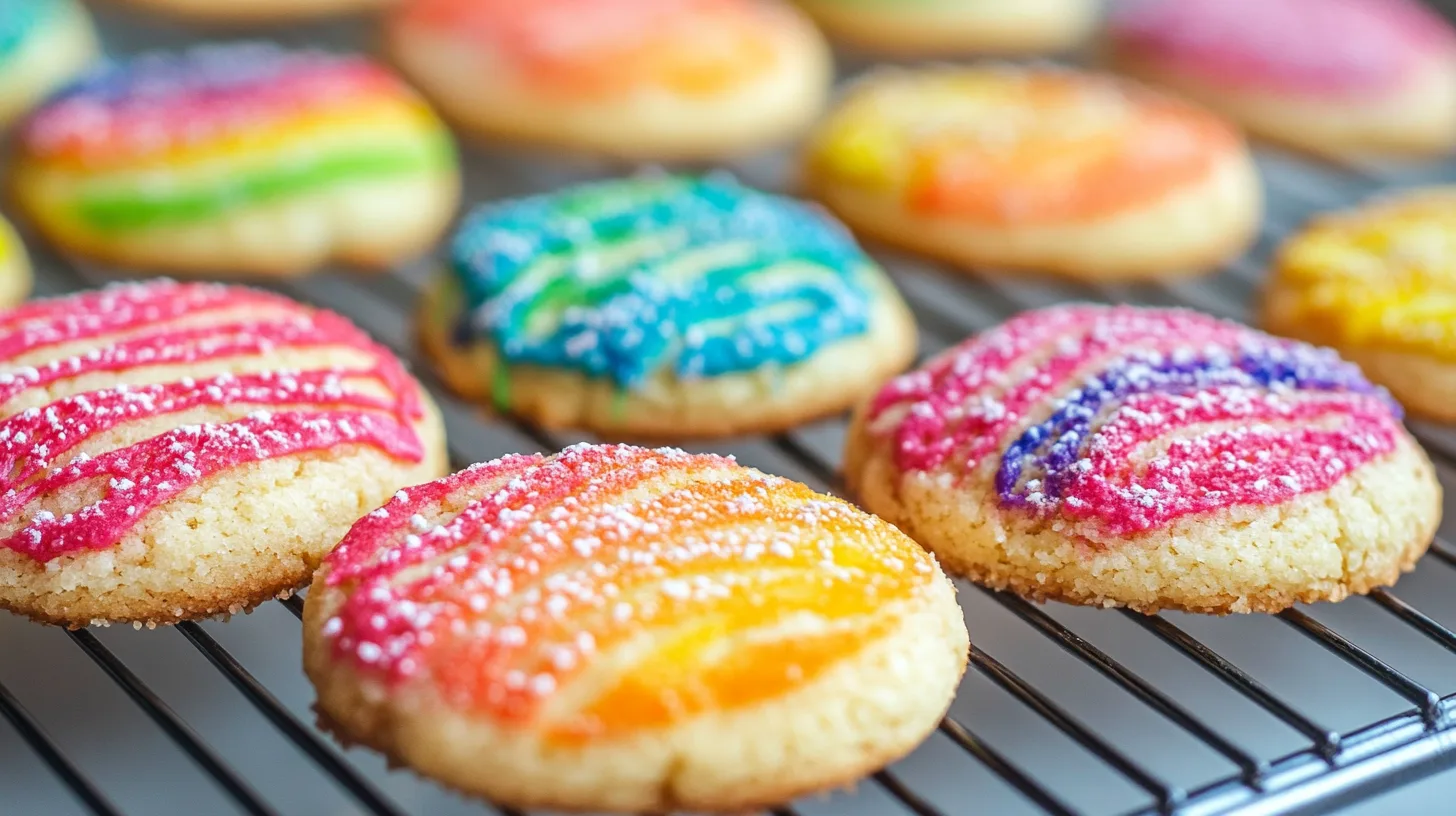
Royal Icing and Decorative Touches
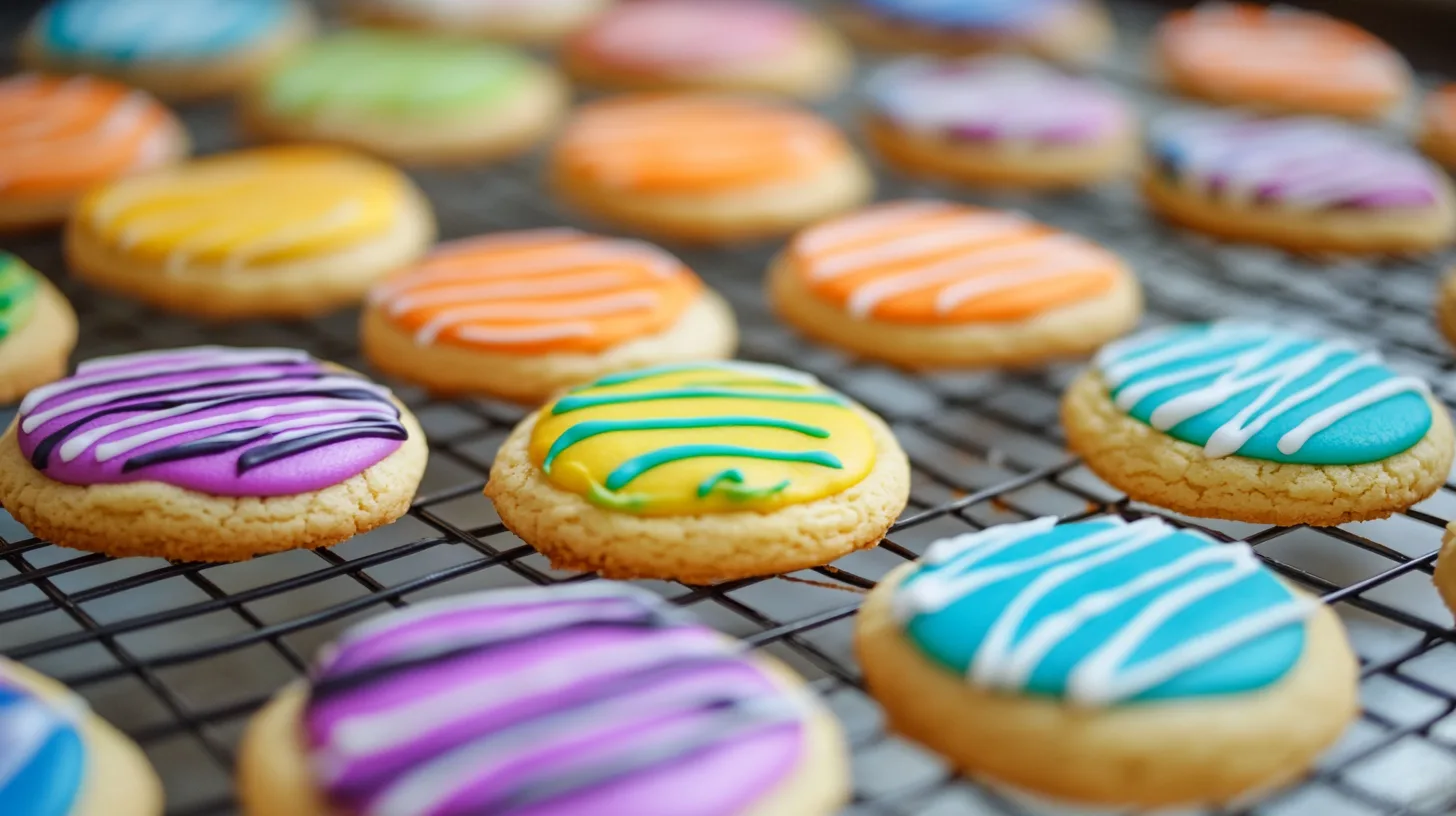
Royal icing is a versatile medium for adding intricate details and vibrant colors to cookies. With the right techniques, you can transform simple cookies into stunning works of art.
How to Use Royal Icing
- Prepare the Icing: Mix powdered sugar, egg whites (or meringue powder), and water until the icing reaches your desired consistency.
- Divide and Color: Separate the icing into small portions and add gel food coloring to achieve the perfect shades.
- Use Piping Bags: Fit piping bags with small tips for detailed designs or larger tips for flooding areas with color.
Adding Decorative Touches
- Metallic Accents: Use edible gold or silver paint for an elegant finish.
- Sprinkles and Edible Glitter: Add texture and sparkle to the cookies.
- Marbling Effects: Swirl different icing colors together for a sophisticated look.
These decorative touches will make your cookies a true standout, aligning perfectly with The Ultimate Guide to Coloring Cookies Like a Pro.
Storing Colored Cookies for Maximum Freshness
Proper storage is key to maintaining the freshness and appearance of your colored cookies. Without the right techniques, colors may fade, and the cookies could lose their texture.
Tips for Storing Cookies
- Cool Completely: Allow cookies to cool entirely before storing to prevent condensation.
- Use Airtight Containers: Store cookies in airtight containers to protect them from moisture and air.
- Layer Carefully: Place parchment paper between layers to prevent smudging or sticking.
- Avoid Direct Sunlight: Store cookies in a cool, dark place to maintain vibrant colors.
- Freeze for Longevity: Freeze undecorated cookies for up to three months and add icing later.
Why Proper Storage Matters
- Ensures cookies retain their vivid colors and flavor.
- Keeps decorative elements like icing and sprinkles intact.
- Extends the shelf life of your cookies, making them ready for any occasion.
By following these storage tips, you can ensure your creations align with the quality promised in The Ultimate Guide to Coloring Cookies Like a Pro.
Troubleshooting Common Coloring Mistakes
Even experienced bakers can encounter issues when coloring cookies. From uneven colors to overworked dough, common mistakes can affect the final results. Fortunately, most problems can be fixed with a few adjustments.
Common Mistakes and Solutions
- Uneven Coloring: Mix food coloring thoroughly into the dough or icing to avoid streaks. Start with small amounts and gradually increase.
- Overworked Dough: Handle dough gently and avoid excessive kneading, which can toughen cookies.
- Color Fades After Baking: Use concentrated gel food coloring and bake at a lower temperature to preserve vibrancy.
- Dough Becomes Sticky: Adjust consistency by adding a small amount of flour to balance the added liquid from food coloring.
Pro Tips
- Test a small batch before committing to a full batch of dough or icing.
- Experiment with different food coloring brands for better results.
- Keep notes on your coloring process to improve with each attempt.
By addressing these challenges, you’ll gain confidence in your ability to follow The Ultimate Guide to Coloring Cookies Like a Pro.
Tips for Perfectly Colored Cookies Every Time
Consistency and attention to detail are essential when aiming for perfectly colored cookies. With practice and the right techniques, achieving professional results becomes second nature.
Essential Tips
- Start with Quality Ingredients: Use fresh, high-quality food coloring and ingredients for the best results.
- Work with Small Batches: It’s easier to control the color and consistency when working with smaller portions of dough or icing.
- Chill the Dough: Chilling helps the dough hold its shape and ensures even color distribution during baking.
- Use the Right Tools: Invest in piping bags, food-safe brushes, and high-quality cutters for precision.
- Be Patient: Allow icing to dry completely before adding layers or packaging cookies.
Why These Tips Matter
- Improves the overall aesthetic of your cookies.
- Prevents common mistakes like cracking or color fading.
- Ensures cookies live up to the standards set in The Ultimate Guide to Coloring Cookies Like a Pro.
FAQs
1. Can I use liquid food coloring instead of gel?
Yes, but gel food coloring is recommended for vibrant colors and better consistency. Liquid food coloring can make dough or icing too runny.
2. How do I prevent my colors from fading during baking?
Use concentrated gel food coloring and bake at a lower temperature to maintain color intensity.
3. What is the best way to achieve pastel colors?
Mix a small amount of gel food coloring with white icing or dough to create soft pastel shades.
4. Can I freeze colored cookies?
Yes, you can freeze undecorated cookies for up to three months. However, decorated cookies with royal icing should be frozen with care to avoid damaging the design.
5. What causes streaks in my dough or icing?
Streaks occur when food coloring is not mixed thoroughly. Always knead or stir until the color is evenly distributed.
Conclusion
Coloring cookies is an art that combines creativity and technique. From mastering royal icing designs to troubleshooting common mistakes, The Ultimate Guide to Coloring Cookies Like a Pro equips you with everything you need to create stunning, professional-looking cookies.
By following proper storage practices, experimenting with decorative touches, and using the right tools, you can elevate your baking game to new heights. Whether you’re preparing cookies for a special event or simply exploring a new hobby, these tips will ensure your creations leave a lasting impression.
Start experimenting today and enjoy the satisfaction of creating beautifully colored cookies that truly wow!
